

Sourdough Sandwich Bread (Soft + Everyday Friendly)
This is the sourdough bread I make most often for my family — especially for my son’s school lunches. It’s soft, easy to slice, and reliable. If you want a sourdough loaf that smells like sweet goodness, & works for real life (toast, sandwiches, grilled cheese), this is it.
Before You Start
This recipe uses an active sourdough starter. If you don’t have one yet, you can make your own (it takes a couple of weeks), buy one, or ask a friend. Once you have one, it can last forever. My starter is 60 years old! I received as a gift from my best friend.
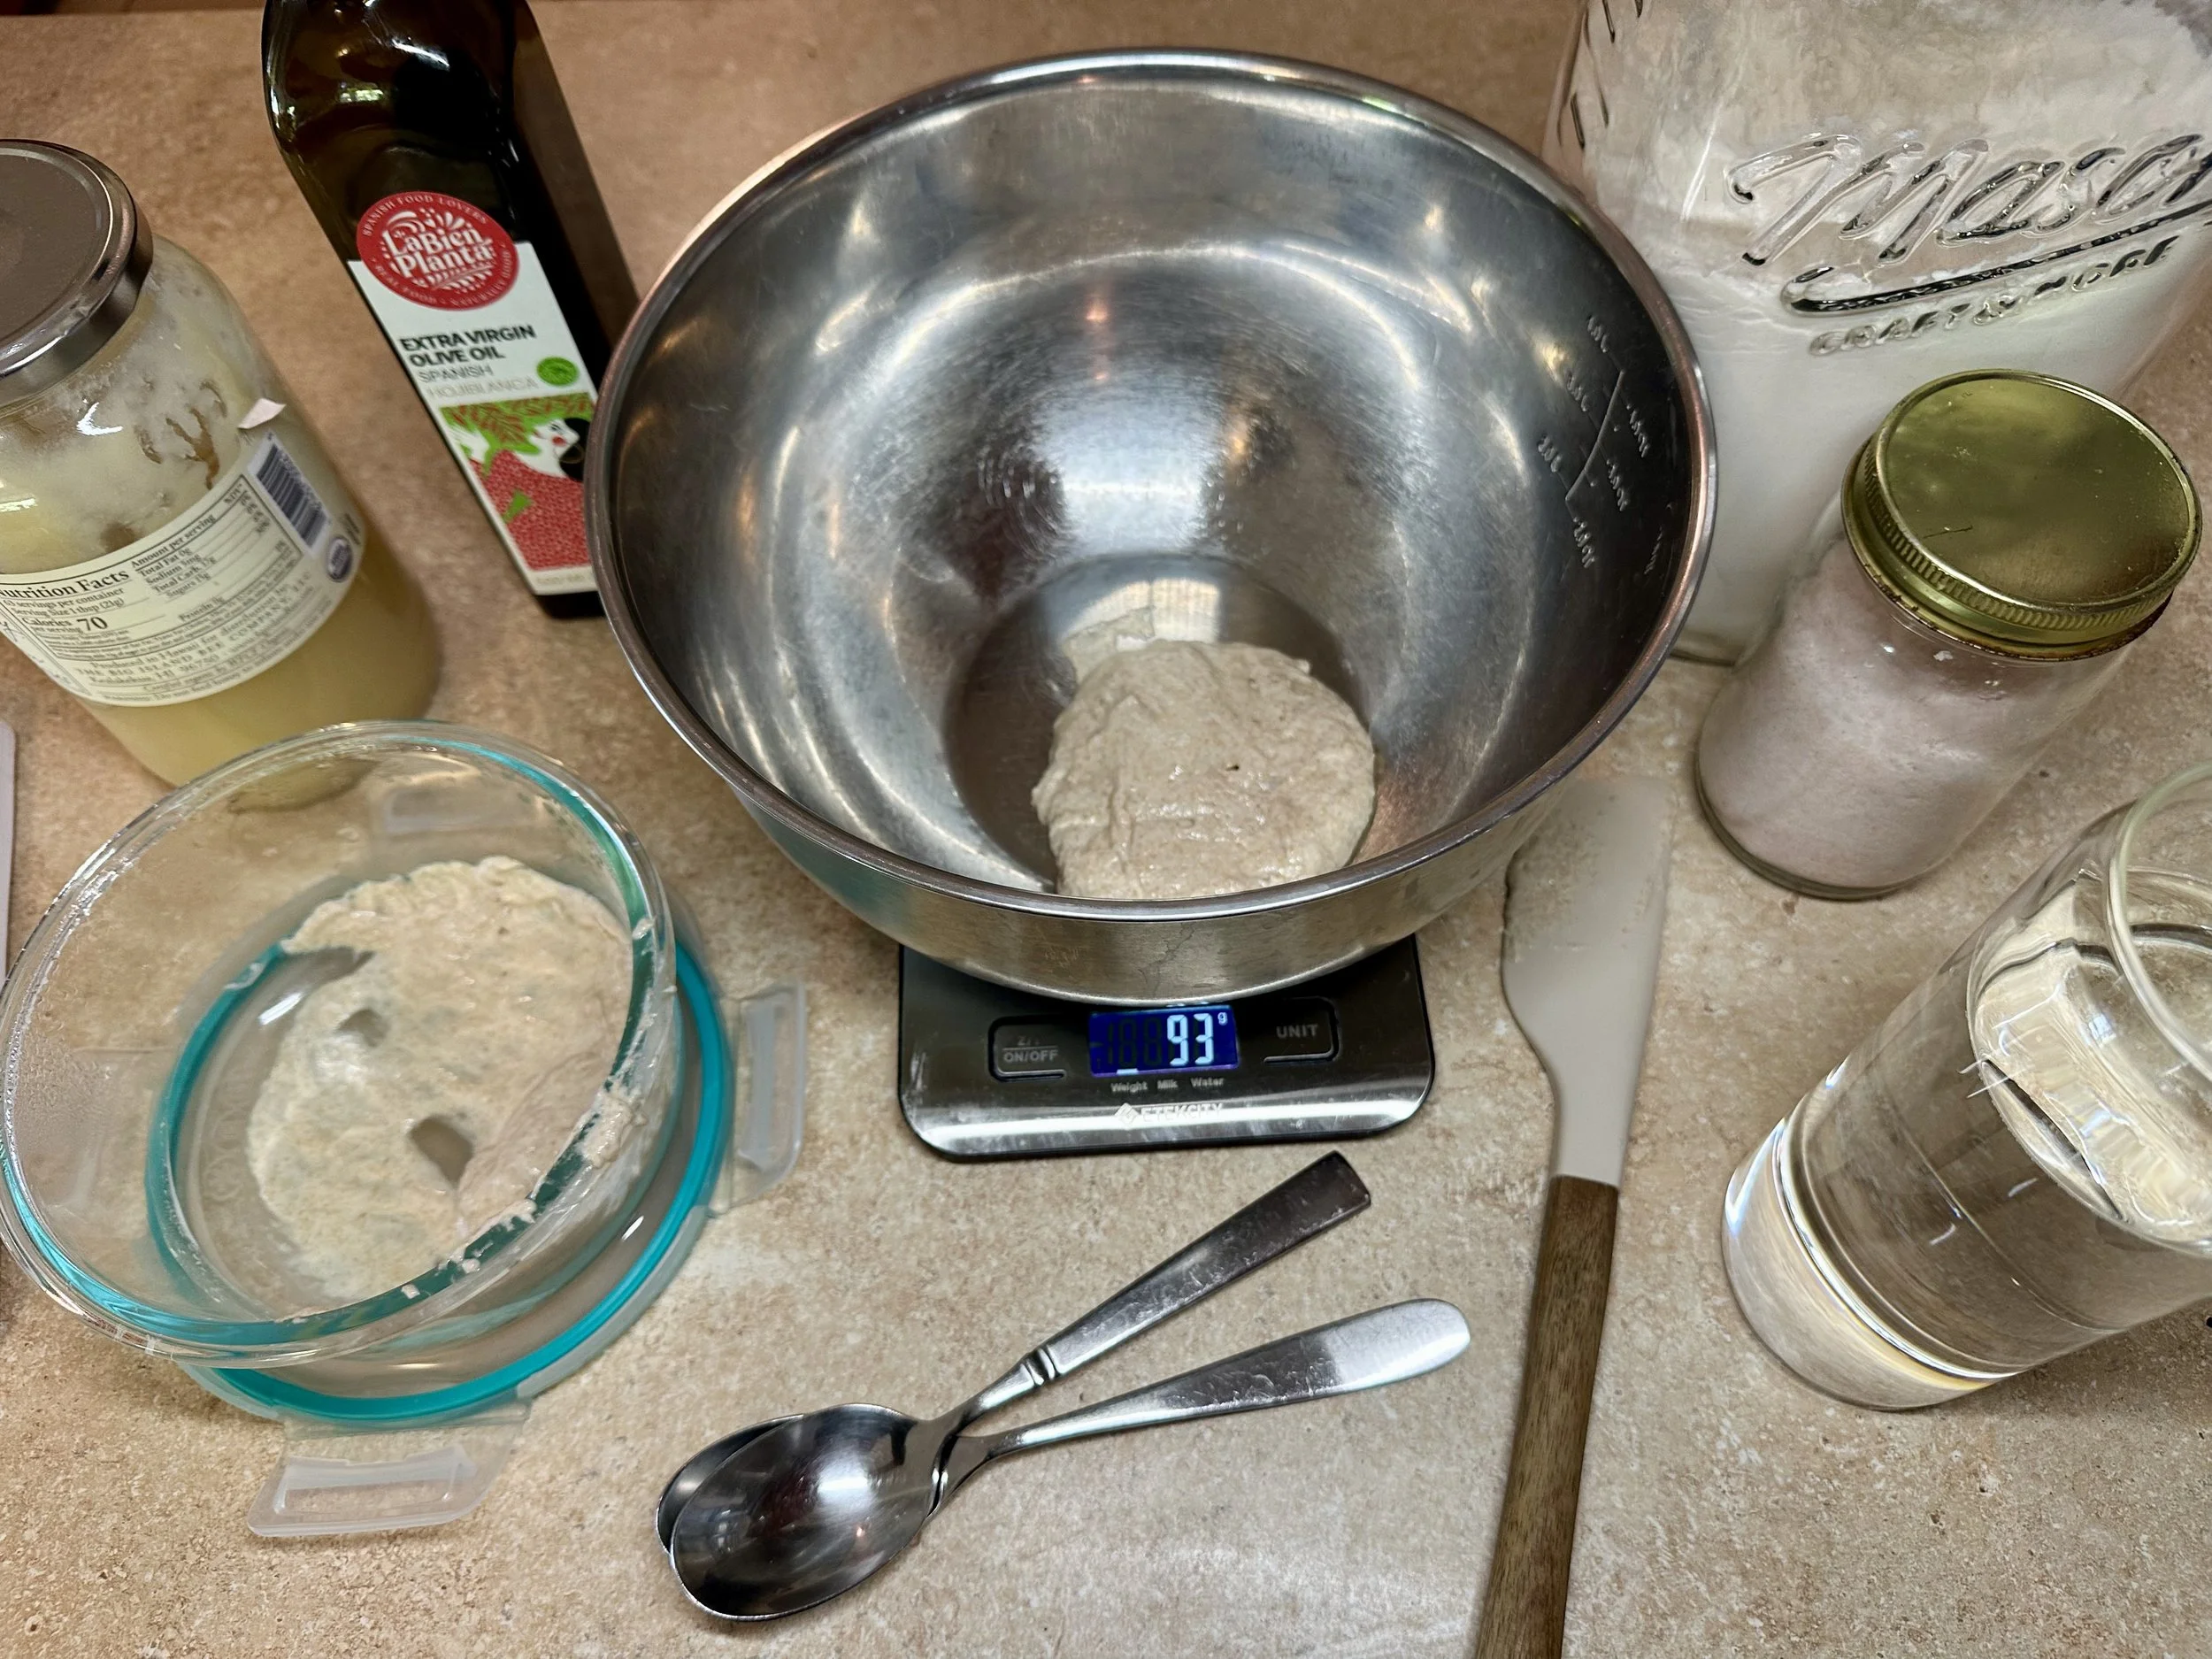
I also highly recommend using a kitchen scale. It makes sourdough much more consistent and takes the guesswork out.
Alright — let’s make some really good sandwich bread.
Why This Is My Go-To Sandwich Bread
I use this bread for everyday meals — toast in the morning, sandwiches for lunch, and simple dinners.
It:
Slices cleanly
Stays soft
Holds fillings without tearing
Stores and freezes well
I often make two loaves at once and freeze one. Once fully cooled, I store it in a zip-top bag with a paper towel inside to absorb excess moisture.
The olive oil and honey give it a soft, slightly rich texture without feeling heavy. It’s simple, comforting, and consistently good.
Just six simple ingredients - flour, water, salt, olive oil, and honey - come together to make something really good.
What Makes This Different from Traditional Sourdough
This is not a long, high-hydration artisan loaf that requires overnight prep— it’s a simple recipe that can come together in 4-6 hours. If you are going to be home, it’s only about 15 min. of active time - the rest of the time it’s proofing on your kitchen counter or in your fridge.
This recipe is:
More approachable than traditional sourdough
Designed specifically for sandwiches
Faster and more forgiving
Structured early to prevent over-proofing
It uses:
Two rounds of stretch and folds
No long, unattended bulk fermentation
A simple shape-and-pan method
After the second fold, you roll the dough up and place it in the pan. No complicated shaping needed.
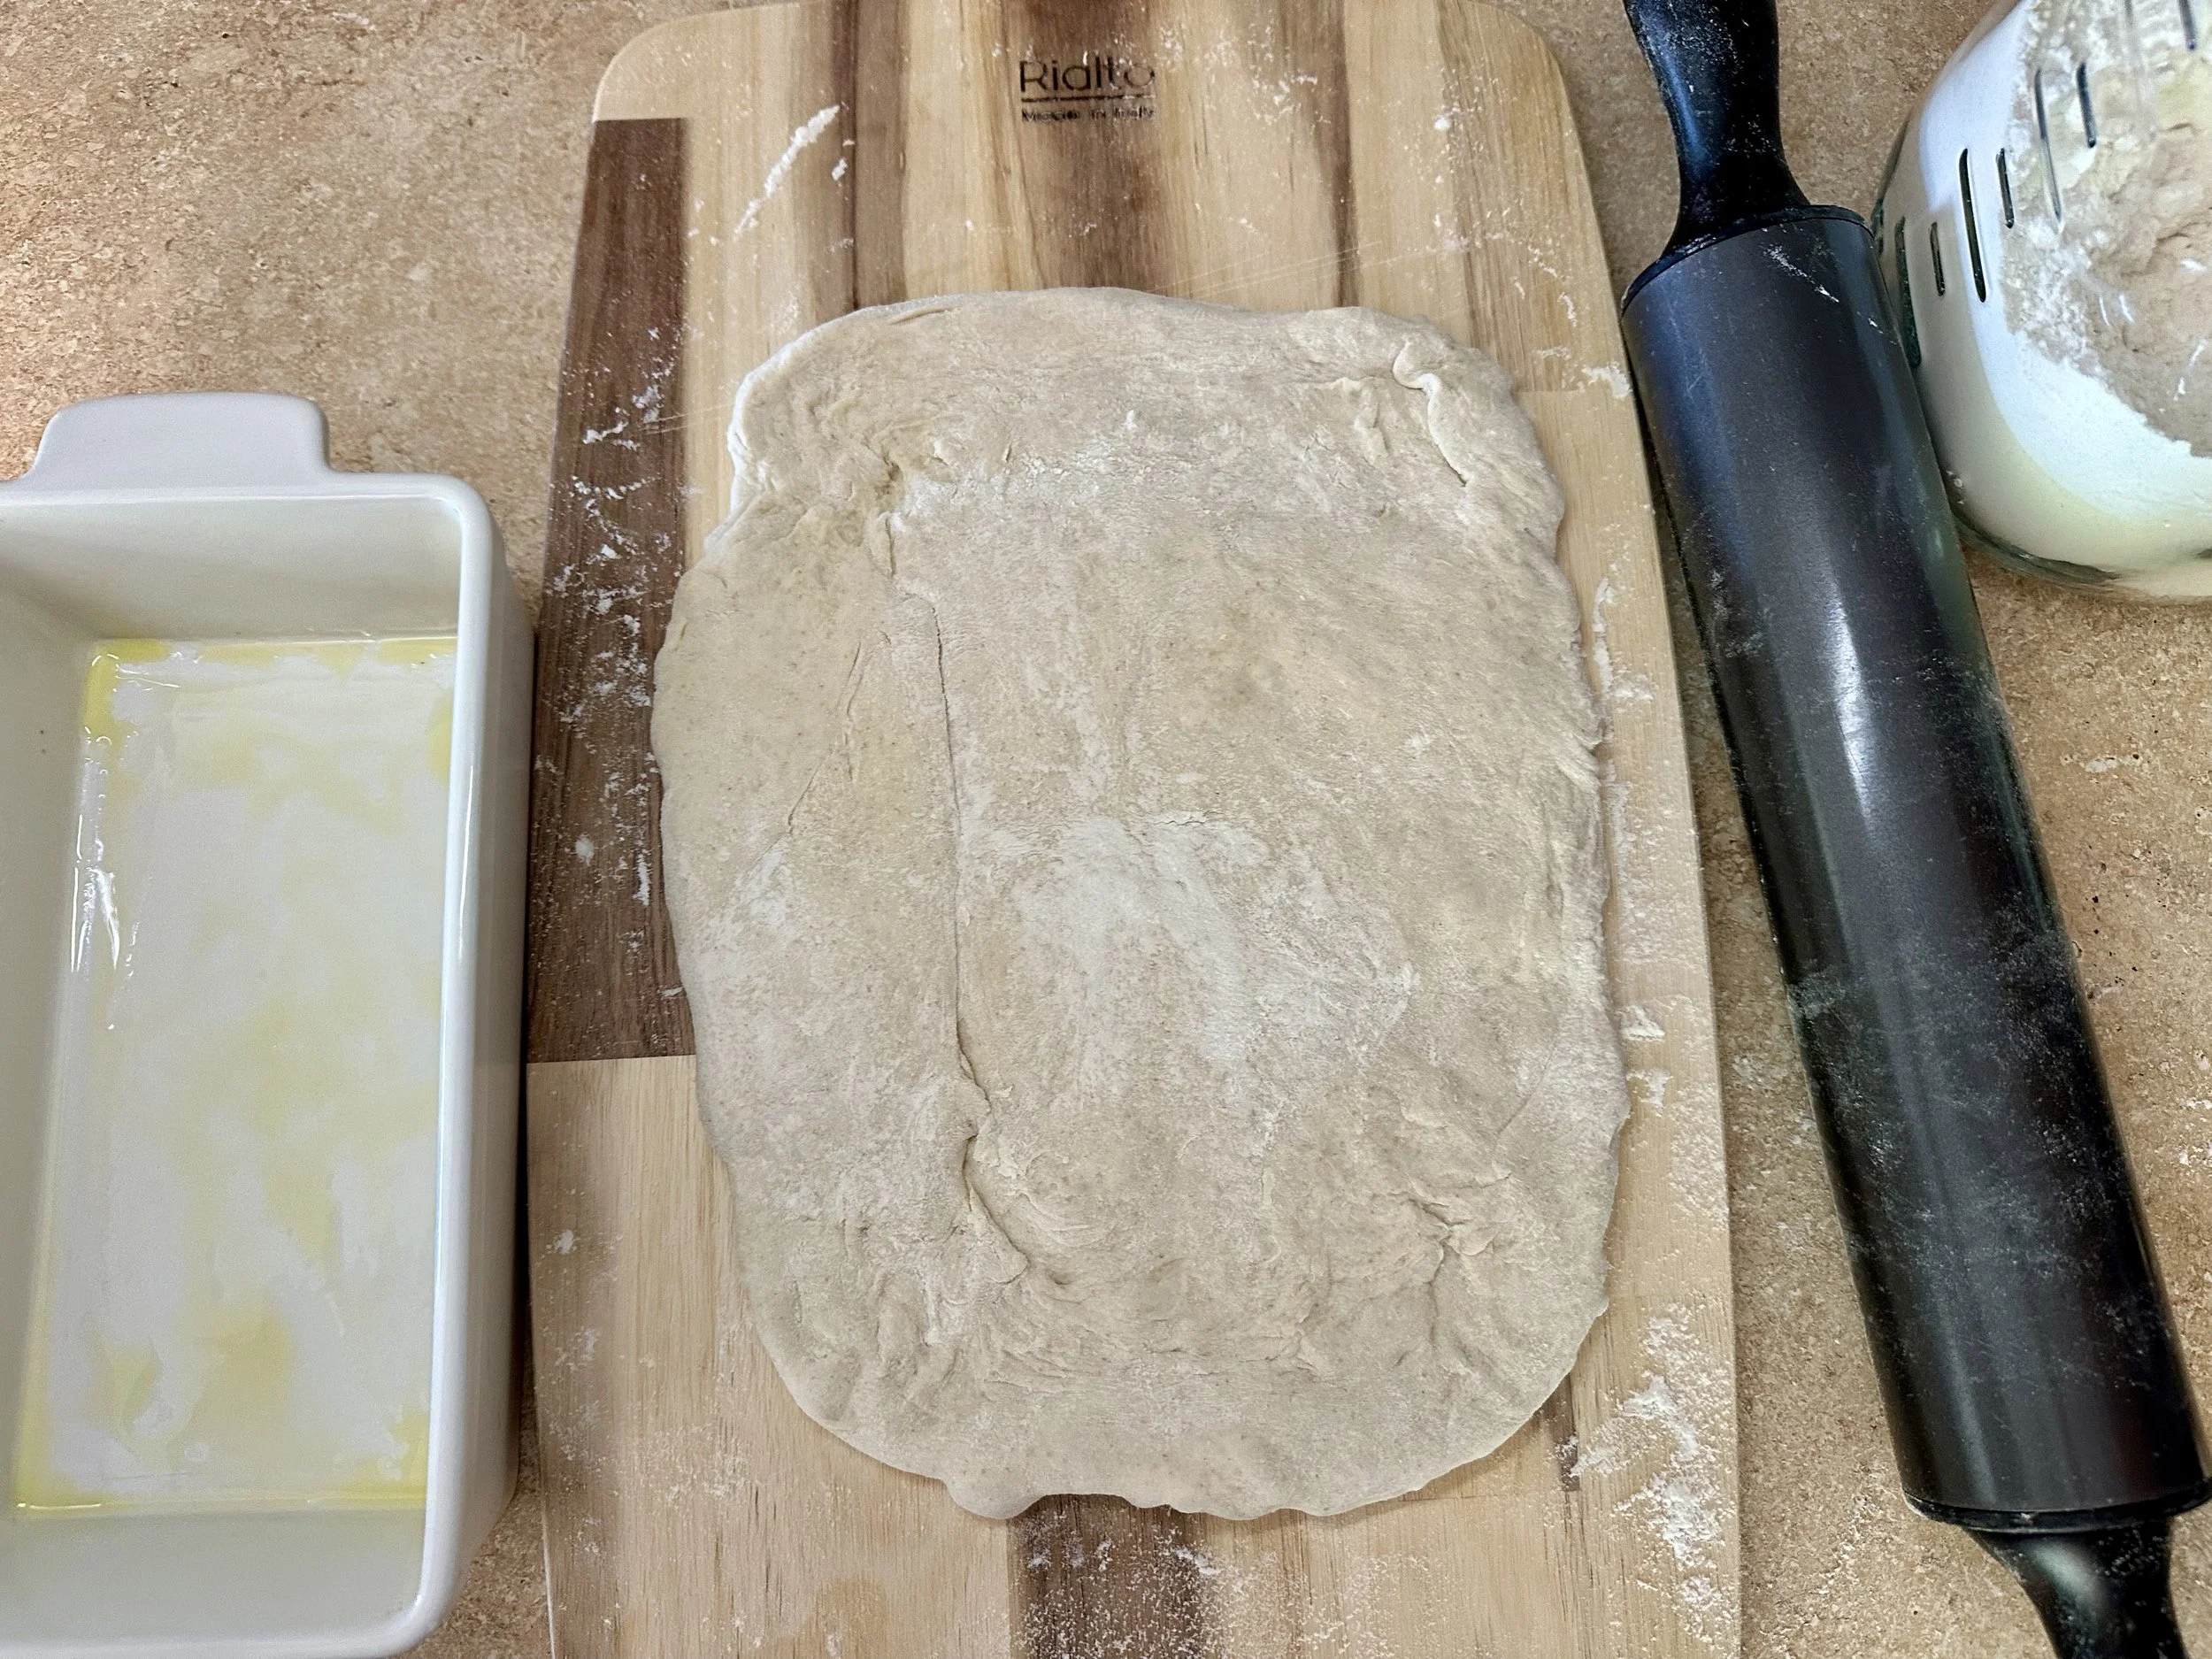
Flattening the dough before shaping into a sandwich loaf.
Fermentation Notes (Simple + Flexible)
You can follow the fermentation timing in this recipe as written in most kitchens.
If you want a deeper breakdown, refer to my regular sourdough recipe — but for this loaf, we’re keeping things simple.
How to Adjust for Temperature
Warm kitchen (80°F+): dough ferments faster → shorten time slightly
Cool kitchen (65–70°F): dough ferments slower → extend time slightly
Start by adjusting 15–30 minutes, and up to 60 minutes if your kitchen is very warm or very cool.
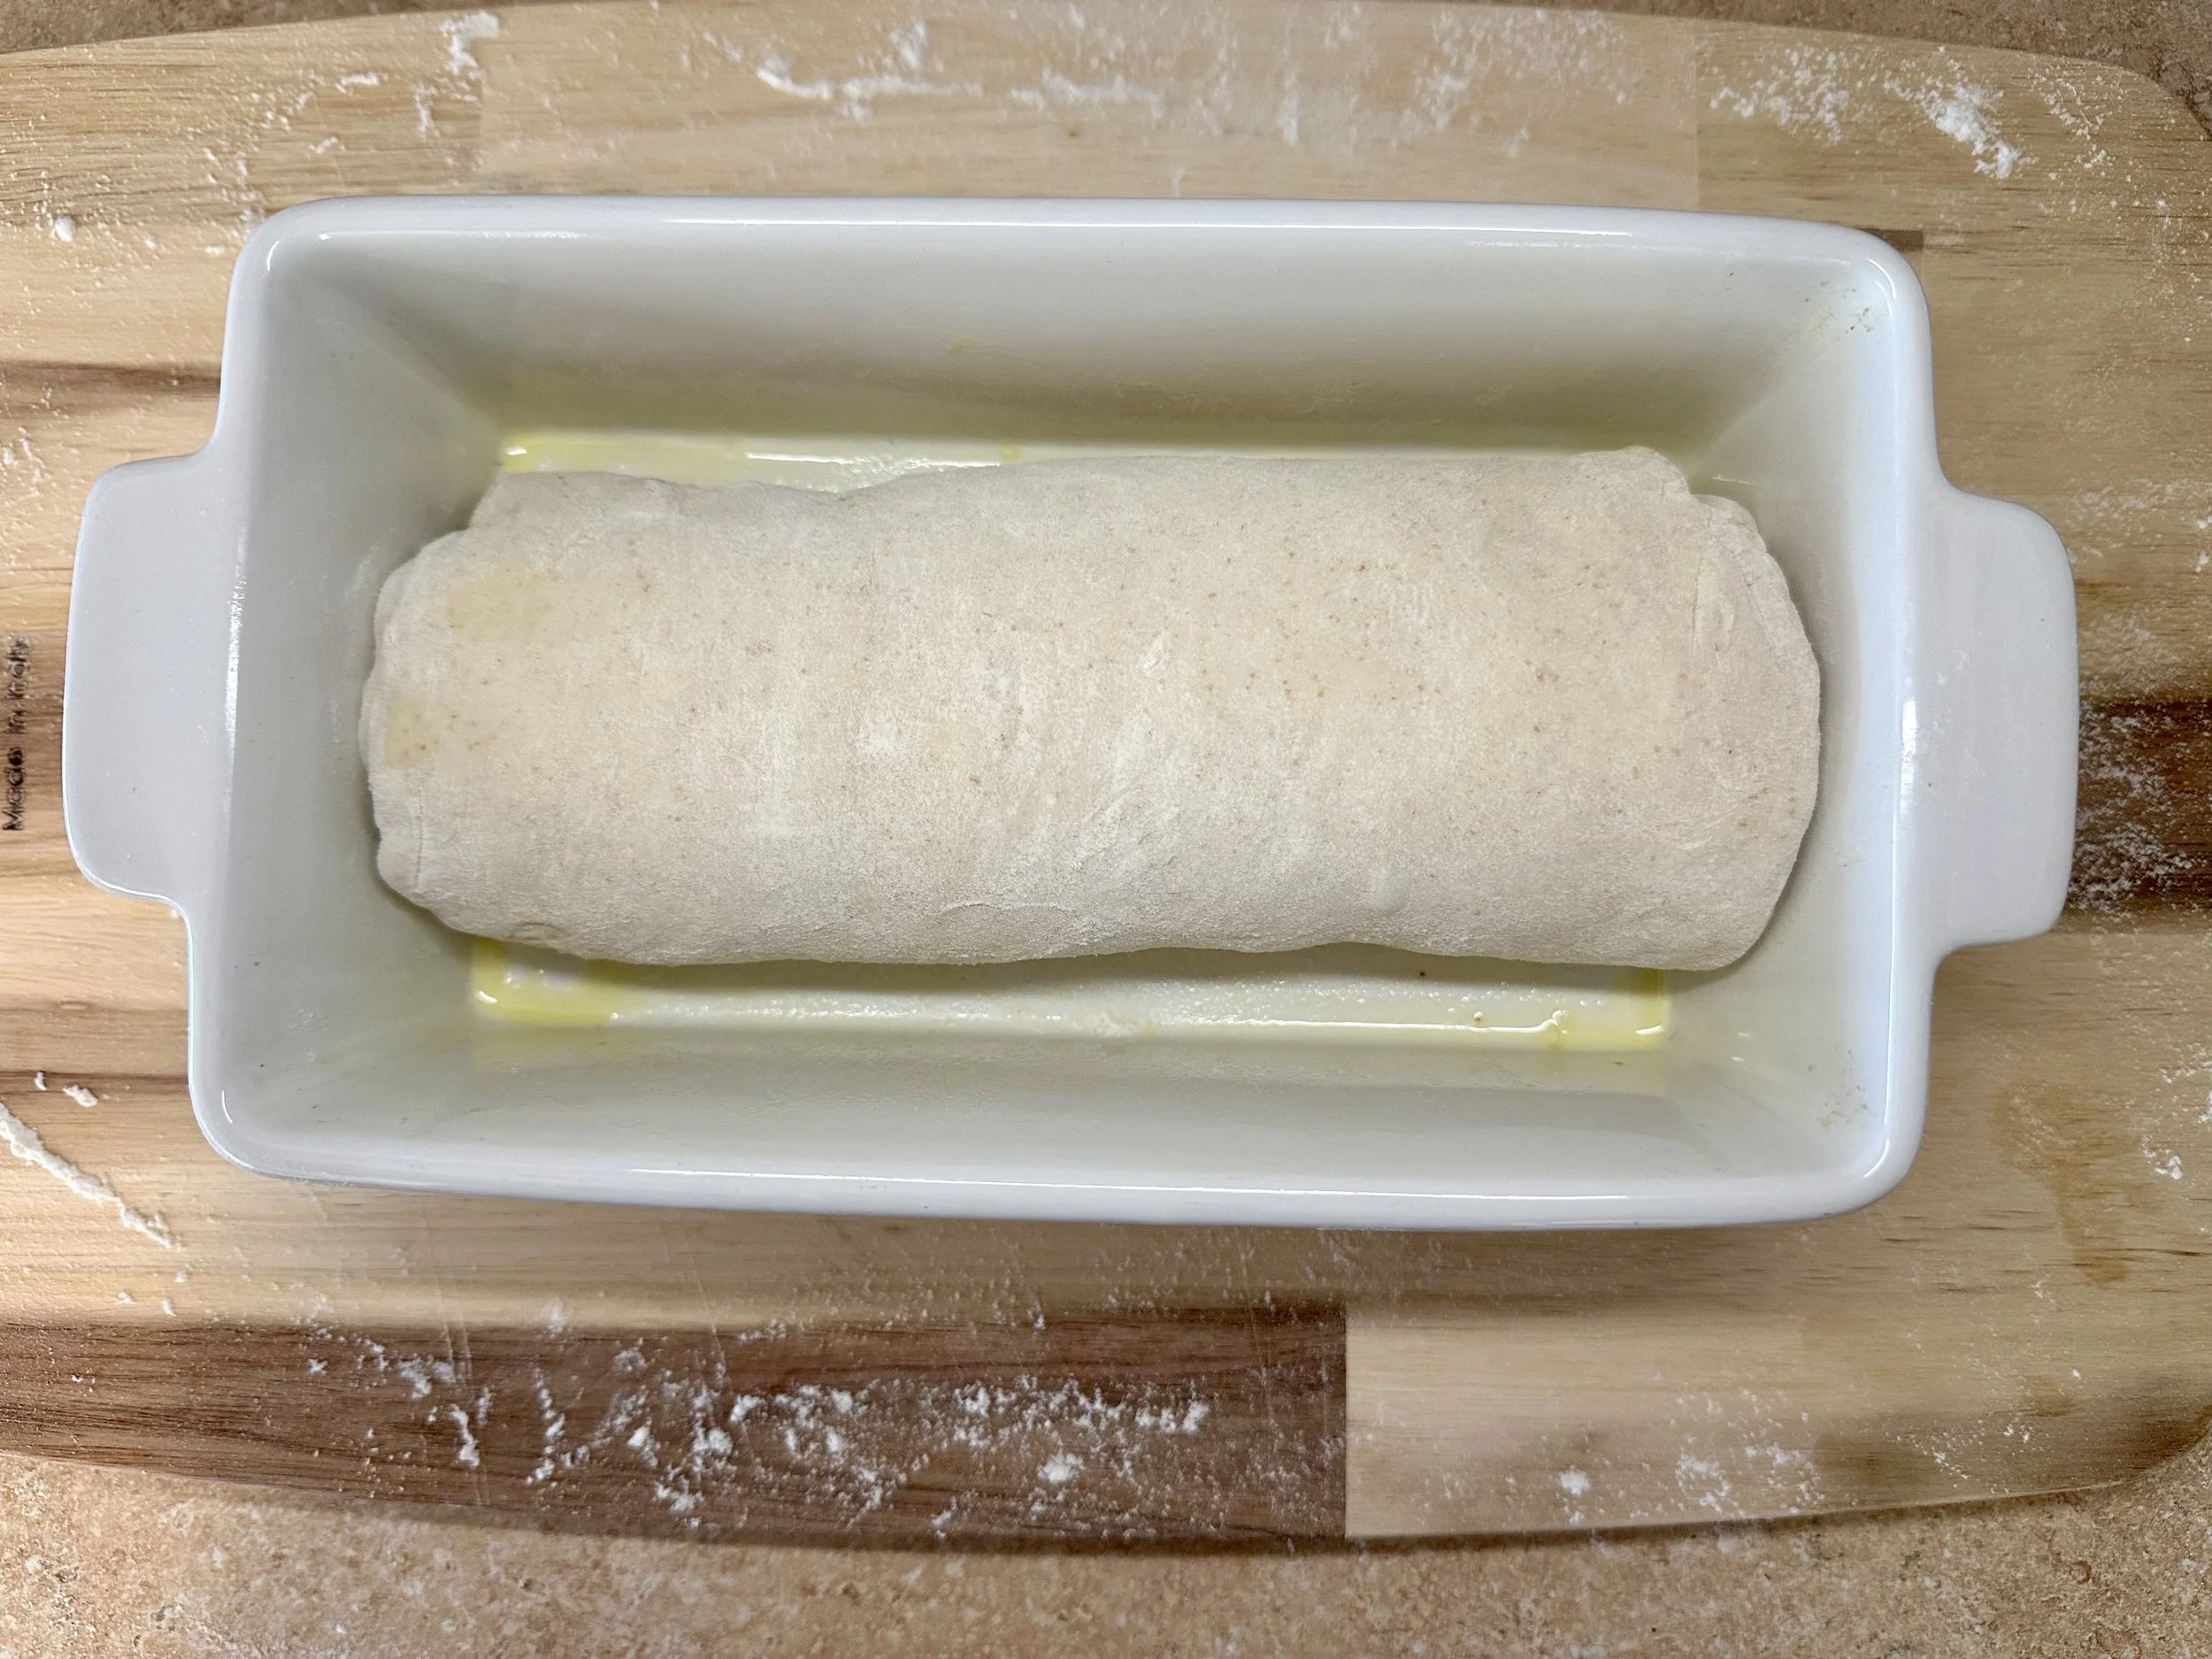
Transfer the Shaped Dough to an Olive Oil–Coated Loaf Pan
How to Tell When Your Dough Is Ready
The clock helps — but the dough tells the truth.
During Early Fermentation
Look for:
Slight puffiness
Smoother texture after folds
Dough becoming elastic (less sticky, more cohesive)
After Shaping (in the pan)
Look for:
Dough holding its shape
Slight rise and soft puffiness
Gentle spring-back when pressed (not instant, not collapsed)
Fermentation by Feel (Quick Guide)
If your dough feels:
Weak, sticky, or collapsing
→ it likely fermented too long → shorten next timeTight, dense, or not rising well
→ it likely needs more time → extend slightly
Small adjustments make a big difference — you don’t need to overhaul the recipe.
Can I Refrigerate the Dough?
Yes — and it’s a great tool.
If your dough is rising too quickly or you need flexibility:
Place the dough in the fridge after shaping
Bake later the same day or the next day
Refrigeration slows fermentation and helps prevent over-proofing.
Why This Bread Works So Well for Sandwiches
This loaf is built for function:
Even, tender crumb
Easy slicing
Strong enough for fillings
Mild flavor that works with everything
It’s the kind of bread that disappears without much attention — because everyone just eats it.
Simple Variations
Cinnamon Raisin
Before shaping, sprinkle cinnamon, brown sugar, and raisins over the dough. Measure with your heart & aim for even coverage so every slice has flavor.
Olive & Herb
Fold in chopped olives and dried herbs before shaping. Great toasted or used for savory sandwiches.
Ingredient Note (Optional)
This bread uses just six ingredients.
I personally choose organic flour when possible, since conventional wheat is often treated with glyphosate before harvest. If you’re already baking your own bread, you’re likely thinking about ingredients — this is just one small step in that direction.
No pressure — just sharing additional info. for those who are into that kind of thing.
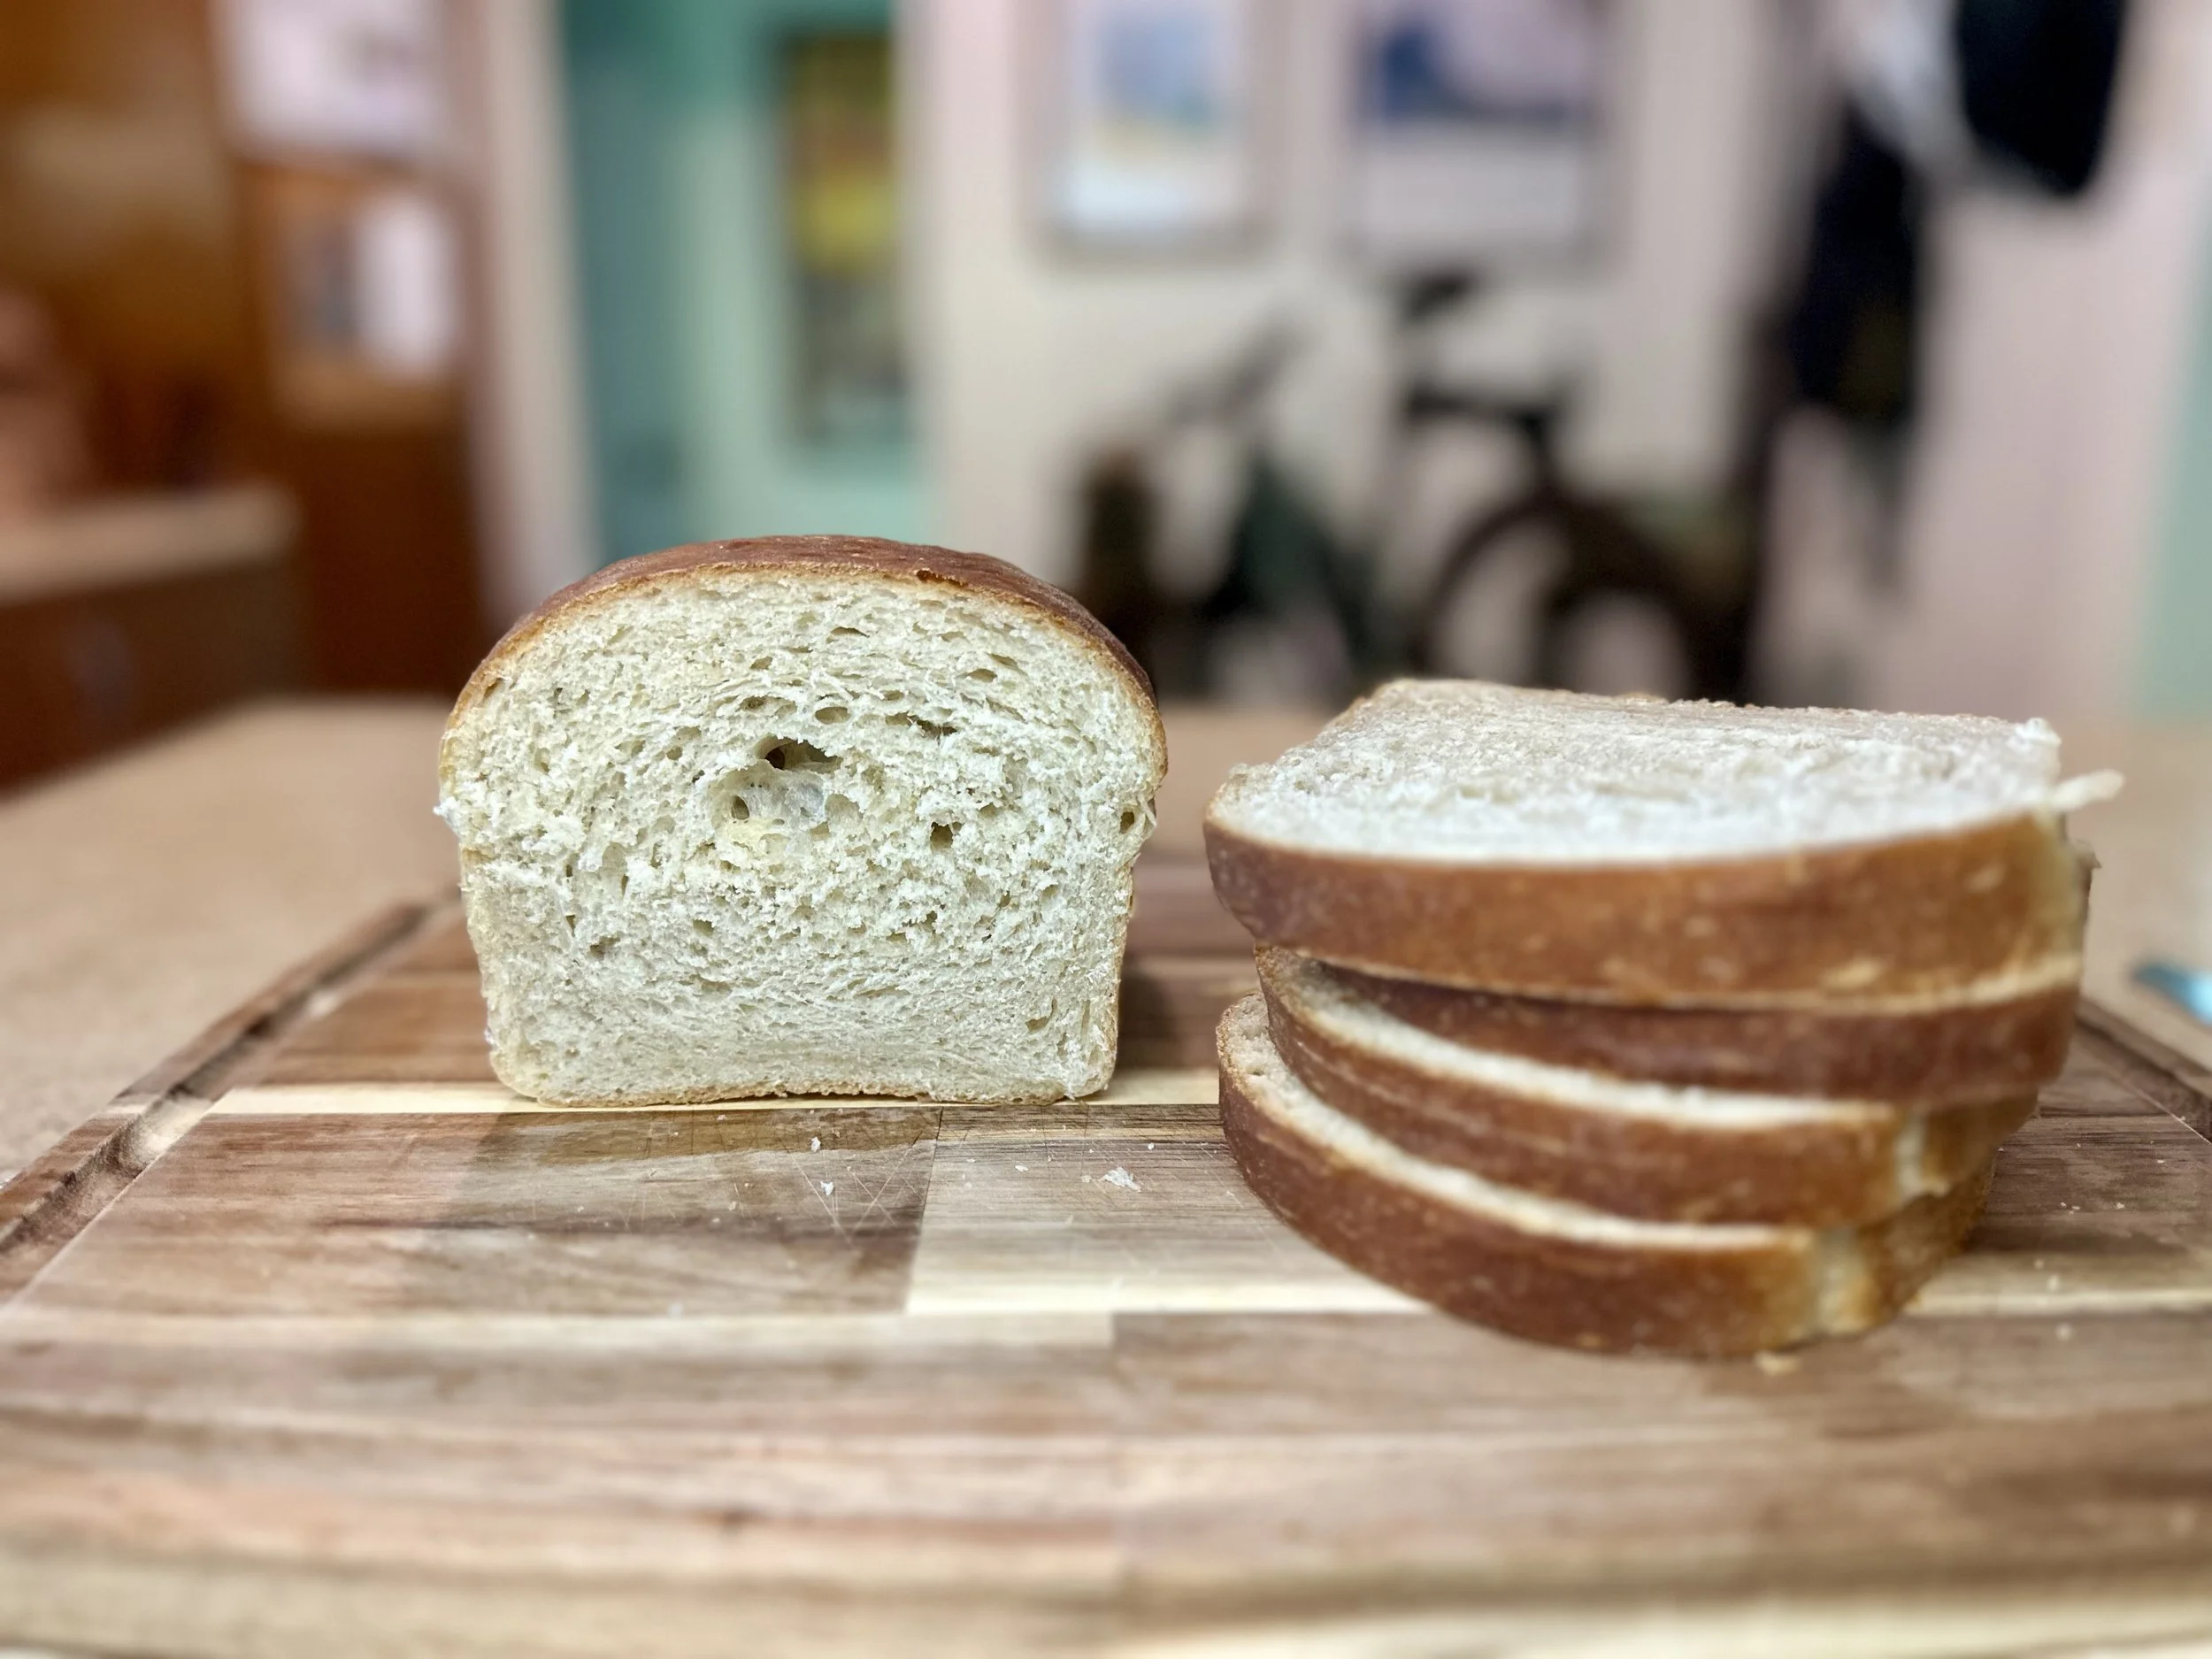
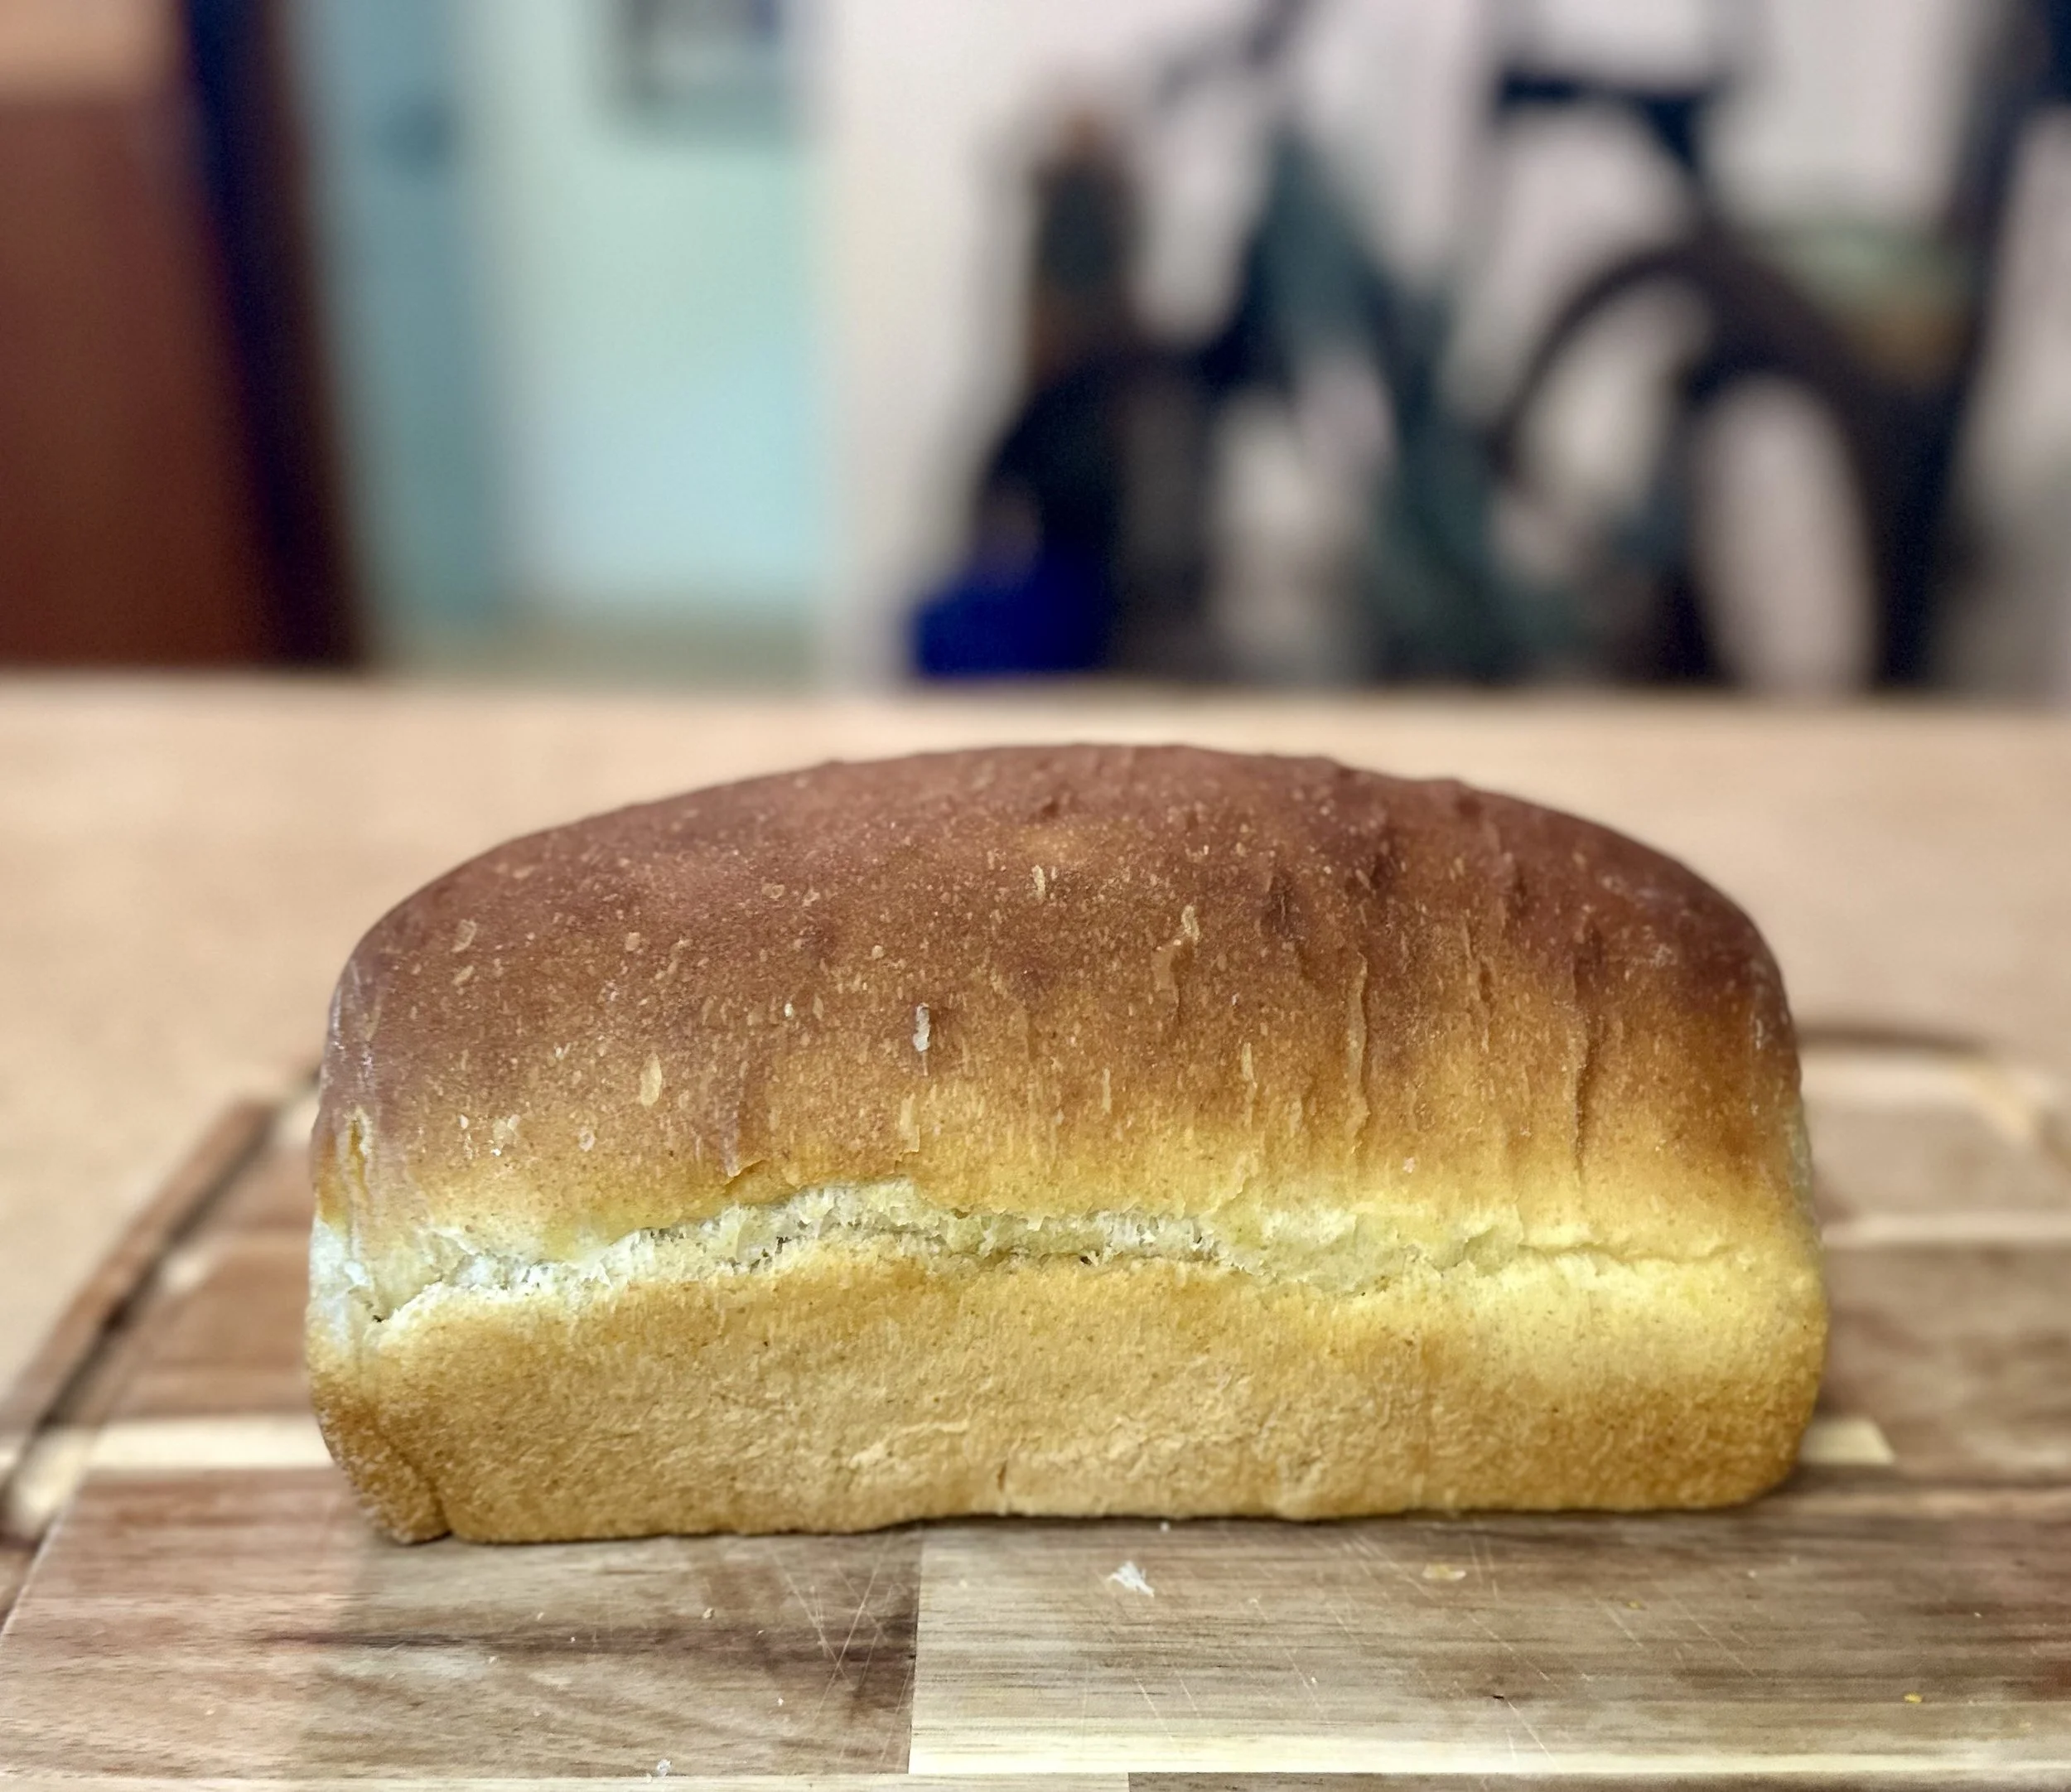
Soft sourdough sandwich bread with a golden crust and even crumb — perfect for slicing and everyday sandwiches.
FAQ
Can I make this in a warm kitchen?
Yes. If your kitchen is warm, fermentation will move faster. Shorten rest times slightly and watch the dough closely.
How much should I adjust fermentation time?
Start with 15–30 minutes. In very warm or cool kitchens, adjustments up to 60 minutes may be needed.
How do I know if I over-proofed my dough?
The dough will feel sticky, weak, and may collapse or spread. Next time, reduce fermentation slightly.
How do I know if my dough needs more time?
If it feels dense, tight, and hasn’t risen much, give it more time before baking.
Can I refrigerate the dough overnight?
Yes. After shaping, you can refrigerate the dough and bake the next day.
Final Thought
This bread is simple, adaptable, and forgiving.
Follow the structure, pay attention to how your dough feels, and adjust slightly if needed — that’s really all it takes.
If you’re looking for a more traditional artisan loaf, check out my regular sourdough recipe.

My Everyday Sourdough Sandwich Bread
A soft, dependable sourdough sandwich loaf that’s easy to make and much simpler than traditional sourdough. It smells incredible while it bakes, slices easily, and works for everyday meals — from toast to school lunches.
Ingredients
- 400 g bread flour
- 200 g water (room temperature)
- 100 g active sourdough starter (recently fed and bubbly)
- 20 g olive oil
- 20 g raw honey
- 8 g salt
Instructions
- Add all ingredients to a large bowl and mix until combined. Knead by hand until the dough is smooth and cohesive.
- It should feel soft and slightly tacky, but not sticky.
- Cover loosely with a damp towel or plastic wrap.
- Let the dough rest at room temperature for 1 hour.
- Perform a set of stretch and folds: pull one side of the dough up and fold it over itself. Rotate the bowl and repeat 3–4 times.
- Cover and rest for 20–30 minutes, then repeat one more time (2 rounds total).
- By the end, the dough should feel smoother, stronger, and slightly airy.
- Turn the dough onto the counter and gently press it into a rectangle. Roll it up tightly into a log and place seam-side down into a loaf pan lightly coated with olive oil.
- Cover with plastic wrap and a dry kitchen towel.
- Let the dough rise until puffy and close to doubled. This typically takes:
- 1.5–3 hours in a warm kitchen
- 3–5 hours in a cooler kitchen
- If your dough is rising quickly or you need flexibility, you can refrigerate the pan to slow fermentation.
- Preheat oven to 375°F.
- Bake for 40 minutes, until golden brown.
- Remove from the oven and brush with butter, if desired.
- Let cool completely before slicing.
Notes
- Fermentation is flexible. If your kitchen is warm, the dough may be ready sooner. If it’s cool, it may take longer.
- Watch the dough more than the clock — it should look puffy, hold its shape, and feel light but not fragile.
- Important: Slicing too early can make the crumb gummy. Let the bread cool fully before cutting.
Nutrition Facts
Calories
1773Fat
27 gSat. Fat
4 gCarbs
326 gFiber
10 gNet carbs
315 gSugar
18 gProtein
51 gSodium
3121 mgCholesterol
0 mgThe nutritional information provided is an estimate. Please note that the actual nutritional content may vary depending on the exact ingredients and quantities used.